

-
Contents INTAKT CMS
Newsletter
It is possible to extend the Intakt CMS with a newsletter module. A newsletter is managed through the Admin section. To match the layout with your corporate identity or personal wishes, a custom style and layout can be applied to the newsletter templates. Once Intakt has implemented your design, you only have to take care of the contents of the letters. This way the newsletter has the exact same recognizable appearance every time it is sent.
New mailing
Log in the CMS to create a new mailing and navigate to the admin section (menu-item "Admin" in the grey bar at the top of the page)
In the admin menu, click "Mailing"

A 'dropdown' will be presented. You will find all previous created newsletters in this 'dropdown'. To create a new one, select the option [new].
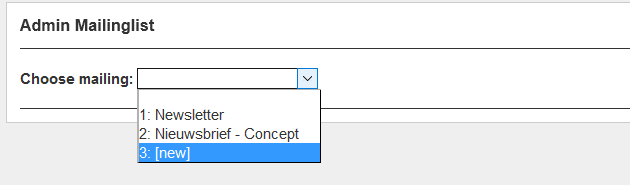
A new newsletter is created. This newsletter is completely blank, with no name or articles.
Segments
Newsletter subscribers can be divided into segments or target groups. When creating a new mailing, it is possible to send it to a specific segment of recipients. This allows marketing campaigns to even more effective.
If segments have been created, you can select them via the dropdown menu "Segment"
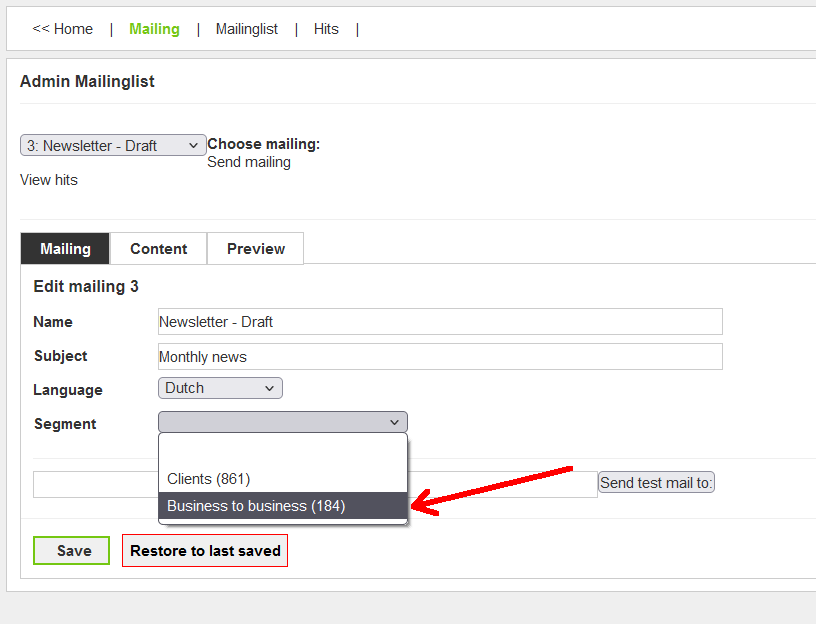
In this case, the mailing will be sent to the 184 e-mail addresses that are connected to target group "Business to business"
Edit mailings
A new mailing has no contents yet.
After navigating to 'Mailing' in the admin section and selecting a newsletter, you will see a page with three tab pages.
Mailing, Content and Preview
These tab pages contain forms that let you manage the contents of the newsletter.
![]()
![]()
![]()
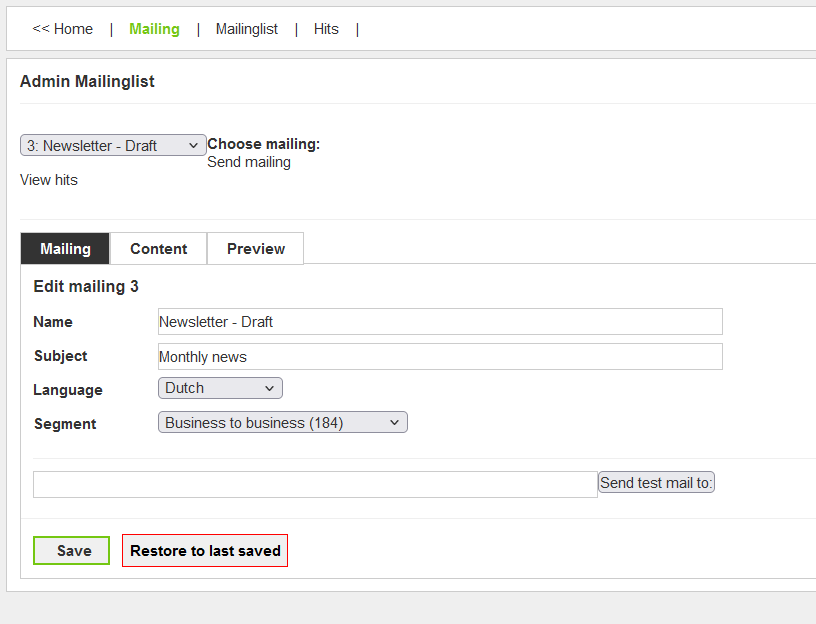
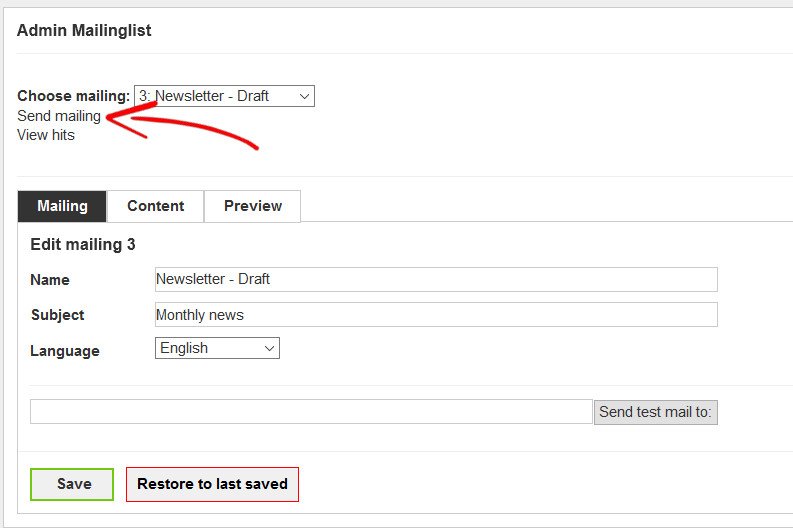
Tab Mailing
The tab page Mailing contains all general properties of a mailing.
Name: The name of the newsletter that will appear in the 'dropdown'. This name will only be presented to the editor(s). This example uses "Draft" in the name. This indicates that this newsletter is not yet ready to be sent. Maybe handy when working on the mailing with several people.
Subject: The subject of the mailing. This subject will be used as the subject of the emails.
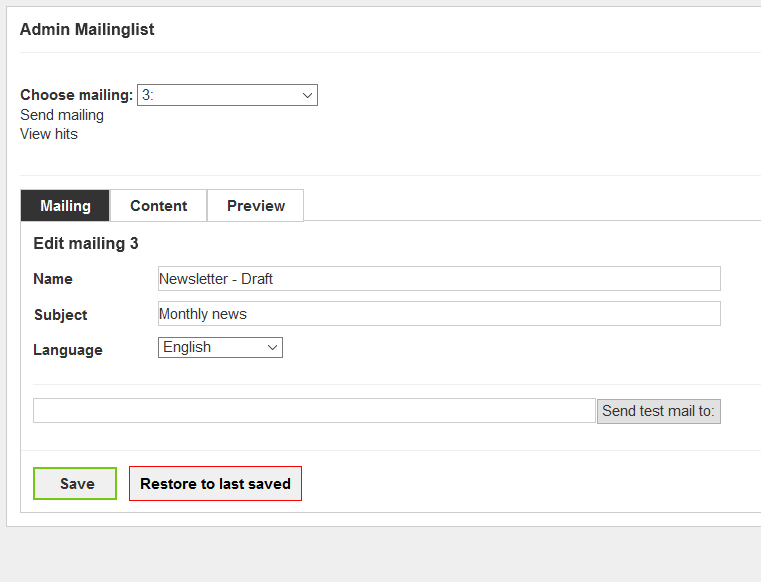
Language: When you have a multi lingual newsletter module installed, this dropdown will manage the receivers of the mailing. (Subscribers should subscribe themselves by using a link with the right active language)
Send test mail to: This field is used to send a test mail. In this case the newsletter will only be sent to the email address you enter here. Testing your newsletter with as many different email providers, devices and email clients as possible is essential before sending it out to the complete list of subscribers.
Save: Your changes are saved by clicking this button.
Restore to last saved: This button will reload the content of the mailing. This is a handy button when you are not satisfied with your changes, and you did not save it yet. Please note that after saving your changes, there will be no way of recovering a previous state.
Tab Content
The tab page Content is used to manage the contents of the newsletter. The exact appearance of this tab depends partly on the layout of the newsletter (provided by you). This example is a simple newsletter. (only articles, no table of contents or introduction text for example).
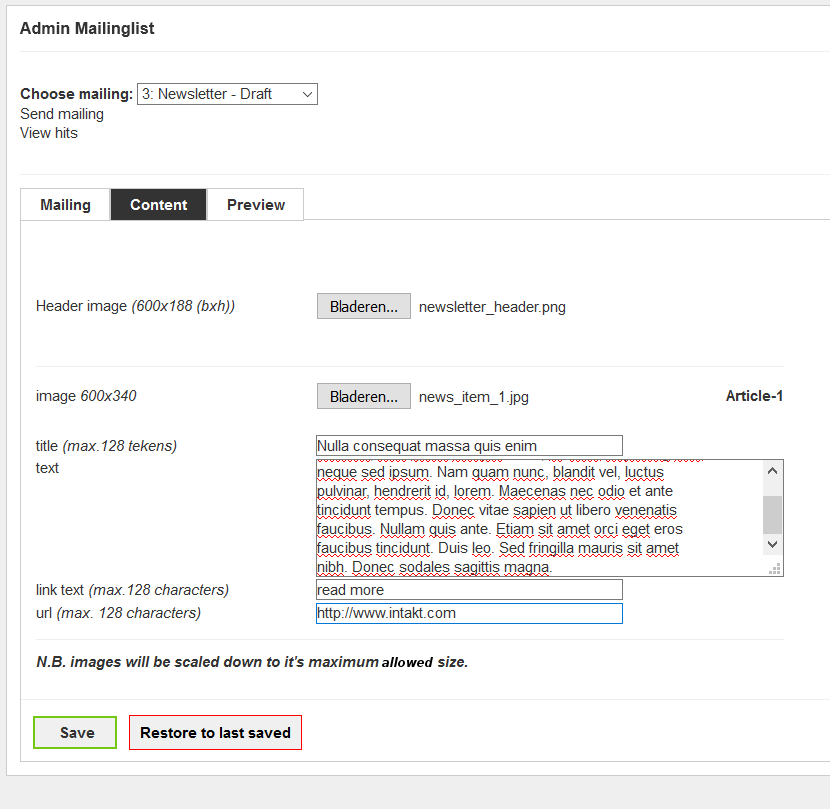
Header image (600x188): This newsletter has a header at the top of the mailing. The ideal size of this image is 600 pixels wide and 188 pixels high. Click the button to select a file from your computer.
Article-1: This "Article-1" at the right indicates that the elements displayed in that section belong to the first article. This article has an Image, Title, Text and a Link. (The Link has two properties: the text that is displayed and the url that points to the webpage)
image (600x340): The image of the article is uploaded with this button. The ideal size of this image is 600 pixels wide and 340 pixels high. It is wise to respect at least it's ideal width.
title (max. 128 characters): The title of the article. No more than 128 characters is allowed for this title.
text: Enter the text of the article in this field.
link text: In come cases it is nice to provide a link to a web page from an article. The text that will be displayed is entered here.
url: The url of the link.
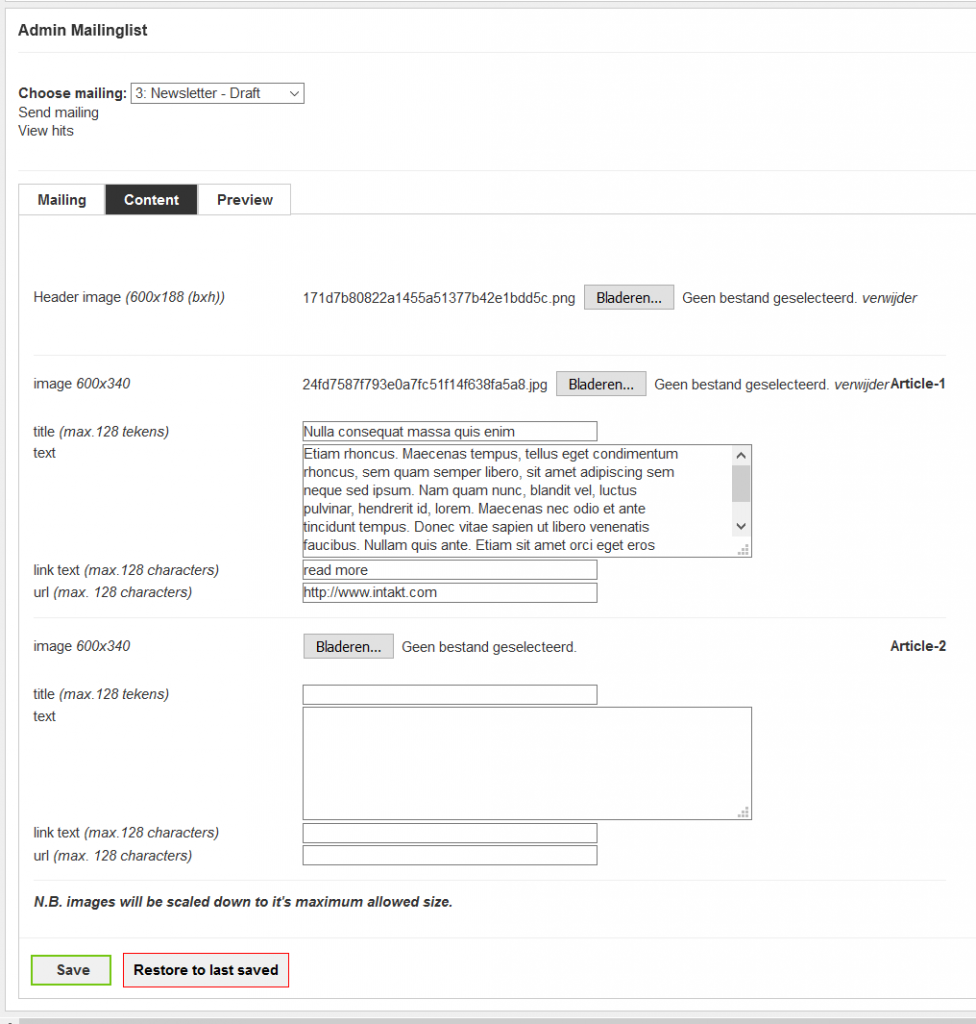
You might have noticed that we only have edit fields for one article. This will change after saving. Beneath your first article will appear new fields that belong to Article-2.
Tab Preview
The tab Preview contains a preview of the newsletter you are creating.
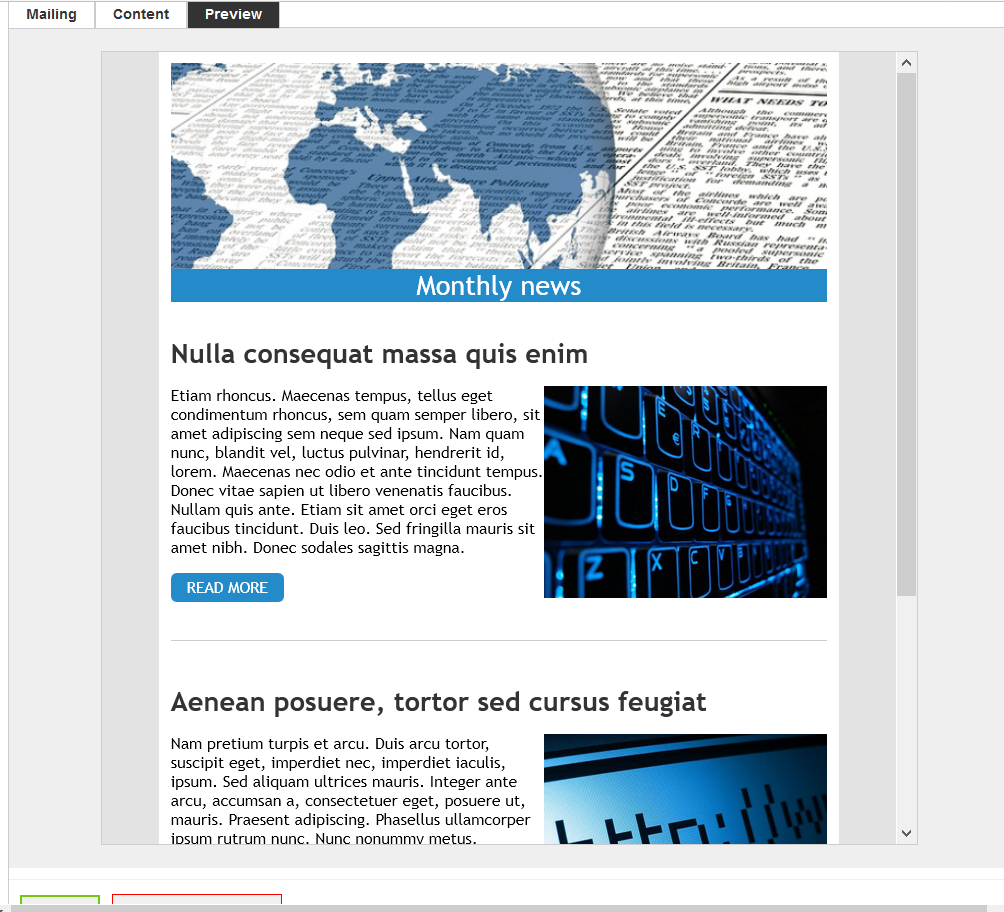
One important thing to keep in mind: Displaying a web page (like this preview) is technically another thing than displaying an email. For that reason it is essential to send testmails (tab page Mailing) to verify the final product.
Please use as many email providers (gmail, hotmail, yahoo, etc.), devices (desktop, tablet, phone), and email clients (outlook, thunderbird, webmail, etc.) when testing your newsletter. You will notice that the layout in the emails could be different from each other. If the layout is too different from what it should be, please contact Intakt. There maybe a solution. Always mention what device, email provider and email client was used, and if possible send a screenshot.
Sending a newsletter
When the content is added, the newsletter needs to be tested thoroughly. After testing it can be sent.
Testing
Before sending, it is important to test the newsletter. This is done through the tab page Mailing.
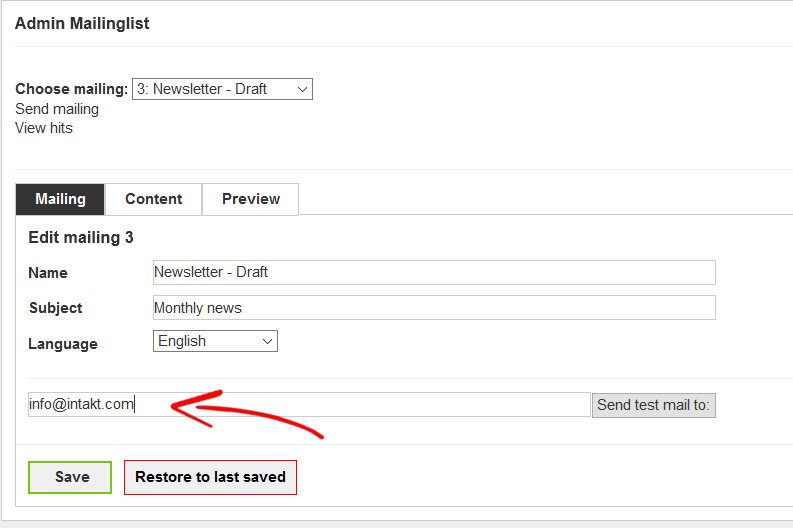
Enter your email address and click on "Send test mail to:".
Please use as many email providers (gmail, hotmail, yahoo, etc.), devices (desktop, tablet, phone), and email clients (outlook, thunderbird, webmail, etc.) when testing your newsletter. You will notice that the layout in the emails could be different from each other. If the layout is too different from what it should be, please contact Intakt. There maybe a solution. Always mention what device, email provider and email client was used, and if possible send a screenshot.
Sending
After testing, the news letter is ready to be sent.
To send a mailing click on "Send mailing"
A page with a Mailing log window will appear.
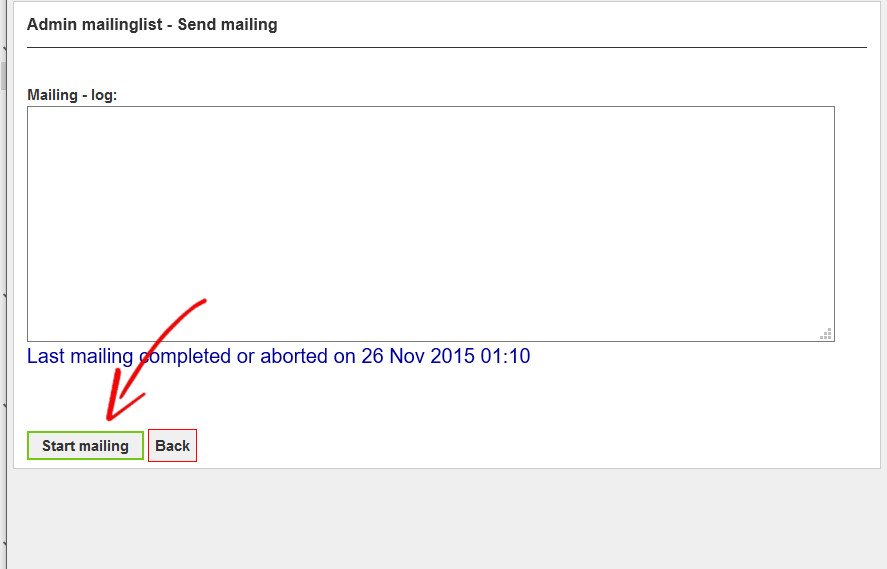
Click "Start mailing".
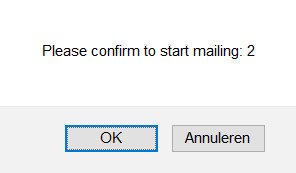
To be sure, it will ask if you are sure to start sending the newsletter. When "OK" is clicked, the mailing wil start en can't be stopped.
Email list
If you are going to send newsletters, you obviously need email addresses to send the letter to. There are several ways to collect these addresses, which is why the CMS offers several possibilities to add the subscribers to the list.
– importing an existing list
Through the admin section of the CMS you can upload files with e-mail addresses. Excel files and csv files are examples of suitable formats.
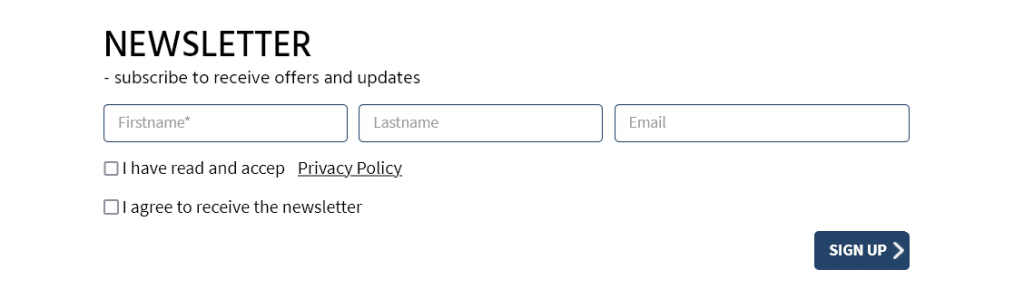
– Subscribe form
On the website you can show a sign up form for your newsletter. The form can be adjusted to your wishes and obligations according to the GDPR regulations.
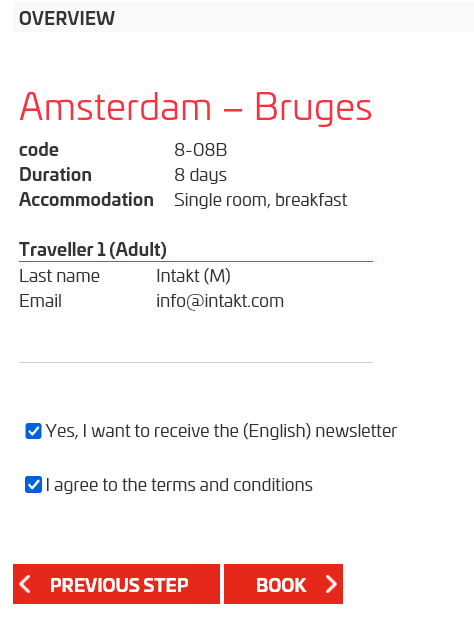
– as an option with another form
If you sell products on your website, you could include an option to sign up for future newsletters during the ordering process. When completing the order, the e-mail address will automatically be added to the list of newsletter subscribers. A contact form would also be suitable to add this option to.
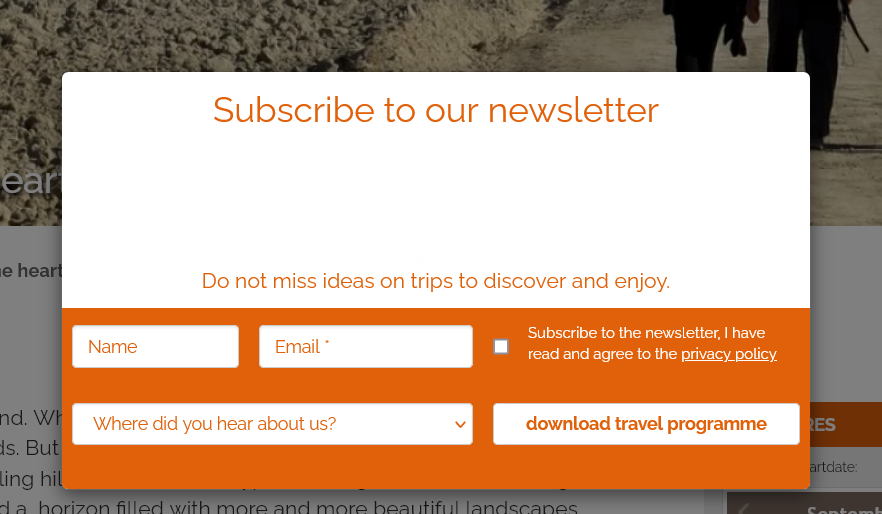
– as a popup after clicking on a link
You can request a visitor to sign up for the newsletter if they perform a certain action. For example, when downloading a PDF or visiting a page with extra information.
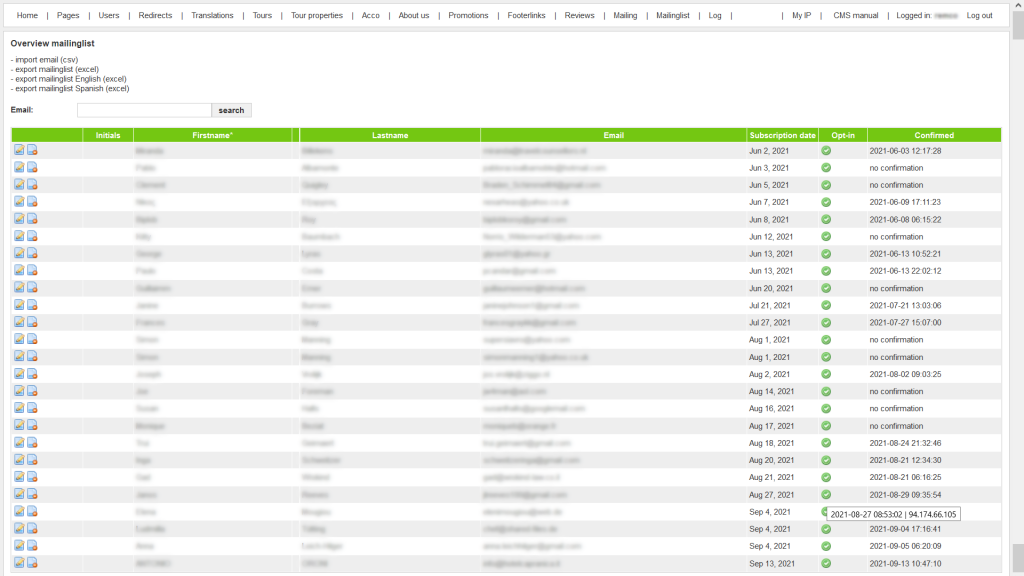
In the admin section Mailing list, the e-mail addresses are shown. Depending on the options you use, details will be listed. In addition to the name and e-mail address, you can see when the registration took place, whether this was done with opt-in and whether the registration has been confirmed through a confirmation link. If you use newsletters in multiple languages, or if you have placed the registrations in categories, you will also see that information on this page.
Unsubscribe
Normally, an unsubscribe link is placed at the bottom of a newsletter. If the recipient clicks on it, the e-mail address is automatically unsubscribed.
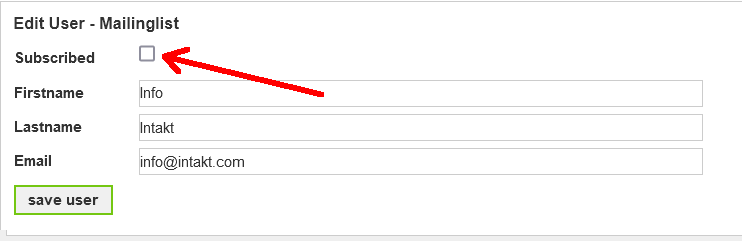
If necessary, it is possible to manually unsubscribe an e-mail address. In the Admin section Mailinglist, click on the 'edit' icon next to the e-mail address you want to unsubscribe.
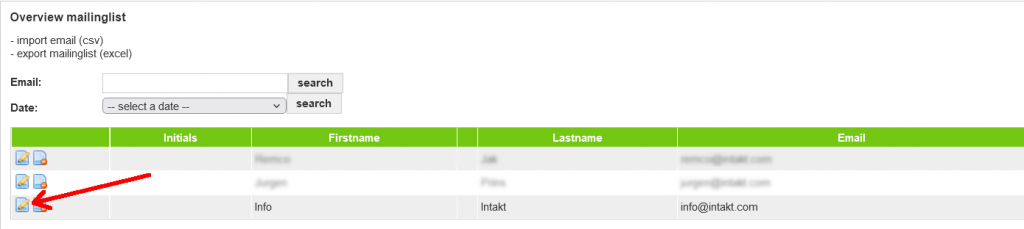
Uncheck the option "Subscribed" and click the "save" button.
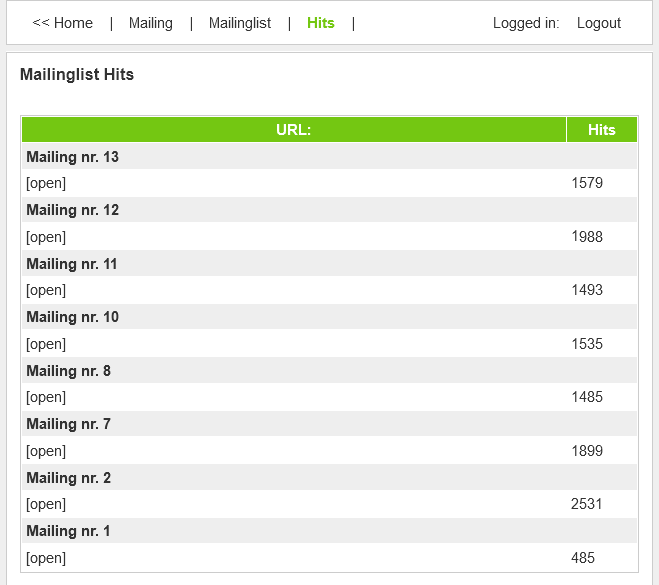
Statistics
It is interesting for marketing purposes to see how often a newsletter has been opened, and which links have been clicked on. Below is an example of an overview of how often newsletters have been opened.
Usually a website uses a tracking system such as Google Analytics to measure visits to the website. The newsletter module automatically replaces the links in the text so that the usage from emails will also be registered. Not only the time when the newsletter was opened or from which country, but also on which link was clicked, and how often someone visited a page from the newsletter can be viewed. In this way, the marketing department has all the data in one place.
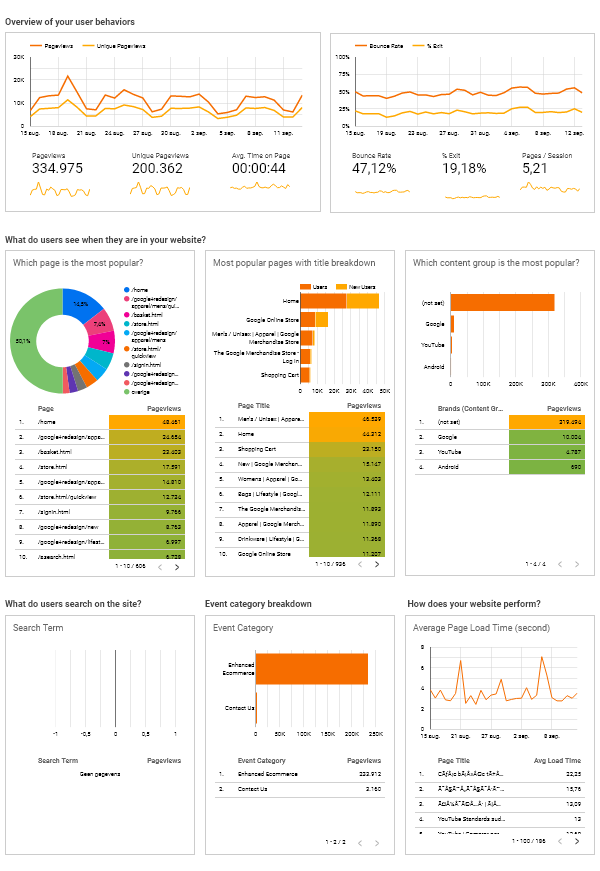
(google analtytics is not part of this manual)