

-
Contents INTAKT CMS
Admin section
All users of the CMS have been assigned to a 'role'. Each role might have different buttons or links available in the CMS.
For users that are "administrator" an Admin menu item in the grey bar at the top of the page is displayed.
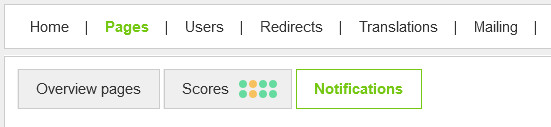
To navigate to the Admin section of the CMS, click this menu item "Admin" at the CMS menu bar at the top of the browser window. (when logged in)
Pages
The Pages section will display a list of all pages of the website.
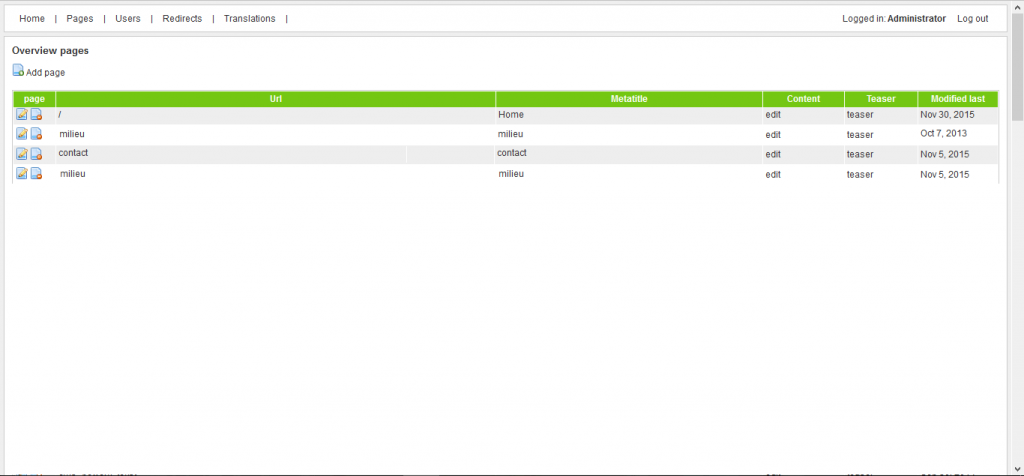
Each row of this table contains information and links that belongs to a page:
- Edit and delete icons: enables you to edit or delete pages.
- url: this column displays the url of the page. Clicking the url takes you to that page
- Metatitle: the metatitle as entered in the metadata popup.
- Edit: Edit the content of the page by clicking. If the content will show up at the page depends on the type of the page and structure of the website.
- teaser: Some websites use 'teasers'. For example on a page that lists a collection of products. In those cases, teasers could be edited here.
- Modified last: The last date on which the metadata or teaser of was edited.
Add a page
Above the pages list, an "Add page" button is displayed.
It is important to note that adding pages through this button requires detailed knowledge of the back-end structure of your website. When in doubt, please contact Intakt.
The properties of the new page should be filled out in the form that appear when the "Add page" button is clicked:
- meta data (also to be edited through the "Edit metadata" menu-item of the grey admin bar at the page itself)
- template (points to the layout file)
- lang: the language-id of the page
- module, controller and action (the route of the application)
- parent (links to a page the new page belongs to, for example a product listing page)
In the case the new page indeed has a "parent", adding pages could be made easier by the Intakt-developer. He or she could place a button at the "parent" page that automatically populates most of the fields. In that case, the metadata fields are the only fields you'll need to think about.
Page offline
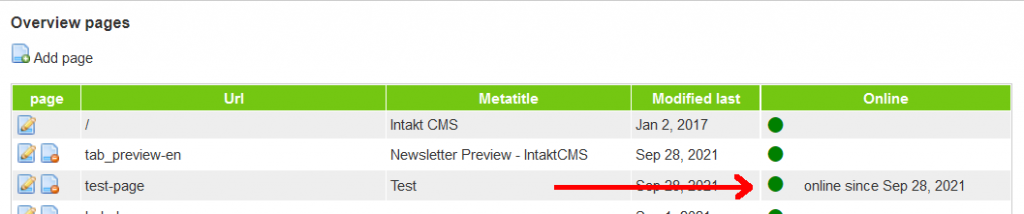
The page list mentions whether a page is public accessible (online) or not (offline).
The last column of the pages table displays two types of dots. A dark green dot means that the page is online, and therefore publicly accessible. A grey dot means that the page is offline, not publicly accessible. Users who are logged into the CMS are able to view all pages, also offline ones.
If a page is changed to offline or online, the CMS registers the date on which this was done. This date will be displyaed in the online column of the table.
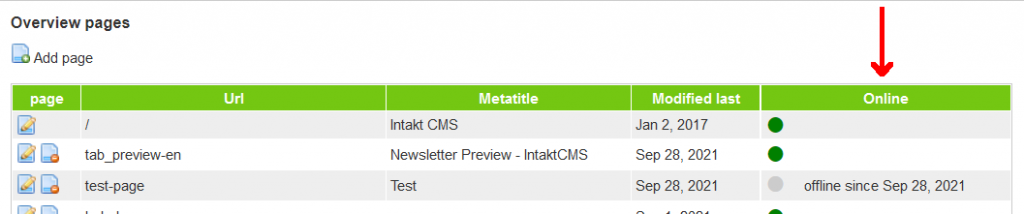
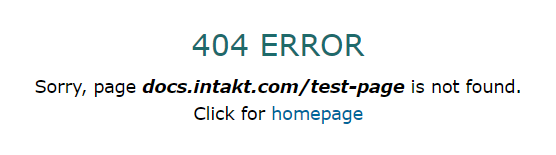
In the example above you can see that the page with url "test-page" is offline. An error message will be displayed when you try to visit this url. “404 error” is a standard message for non-existent pages.
If you click an edit button in the first column of the page table in the overview page, you can edit the page. Here you will also see a check box labeled "offline". If you uncheck this box, the page will be online, and accessible to the public.
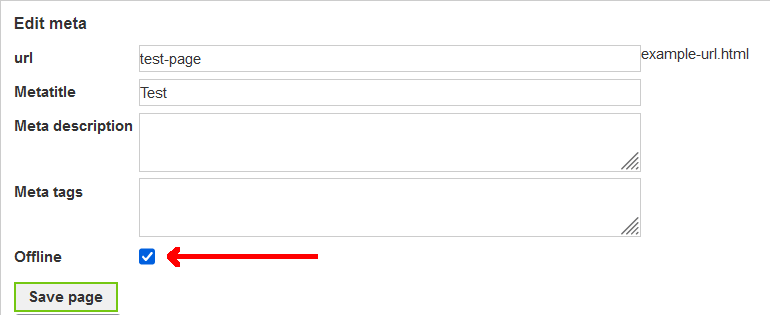
In the pages list there is now a dark green dot displayed at test-page, and the date since when the page is online.
Page Scores
Scores
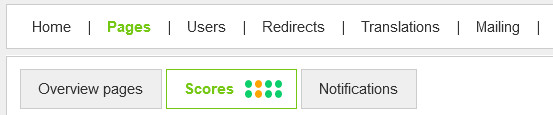
In this admin section the average scores of all pages are displayed. As with the individual scores, these are divided into Desktop and Mobile, and include performance, accessibility, best practices and SEO. See Lighthouse Scores for more information about the scores and categories. The FAQ section has an item about low Mobile Performance.
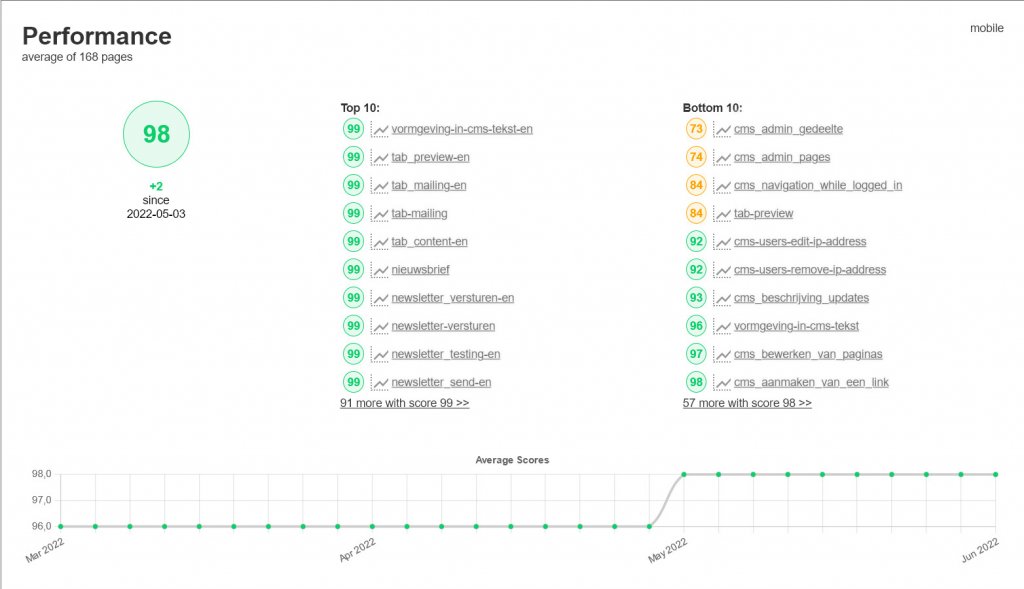
The big number on the left shows the average score, the category is mentioned above the number, together with the total number of pages involved.
The average score is helpful for determining structural or general improvements. If a category scores poorly on average, it could well be possible that there is one (type of) fix for all pages. The last detected change is displayed below the big number. In this case an improvement of 2 points was detected at May 3rd 2022.
To the right of the average scores, two lists are displayed: one with the 10 best and one with the 10 worst scoring pages.
The list of worst scoring pages can be helpful in identifying problems, and could be the starting point for improving the overall 'health' of your website.
The list of best scoring pages can be helpful in determining areas for improvement for other pages by comparing different lighthouse reports.
Next to the scores in the top/bottom 10 lists, the URL of the page in question is mentioned. When you click on the url, the lighthouse report is displayed. This report contains suggestions for improvements to that page.
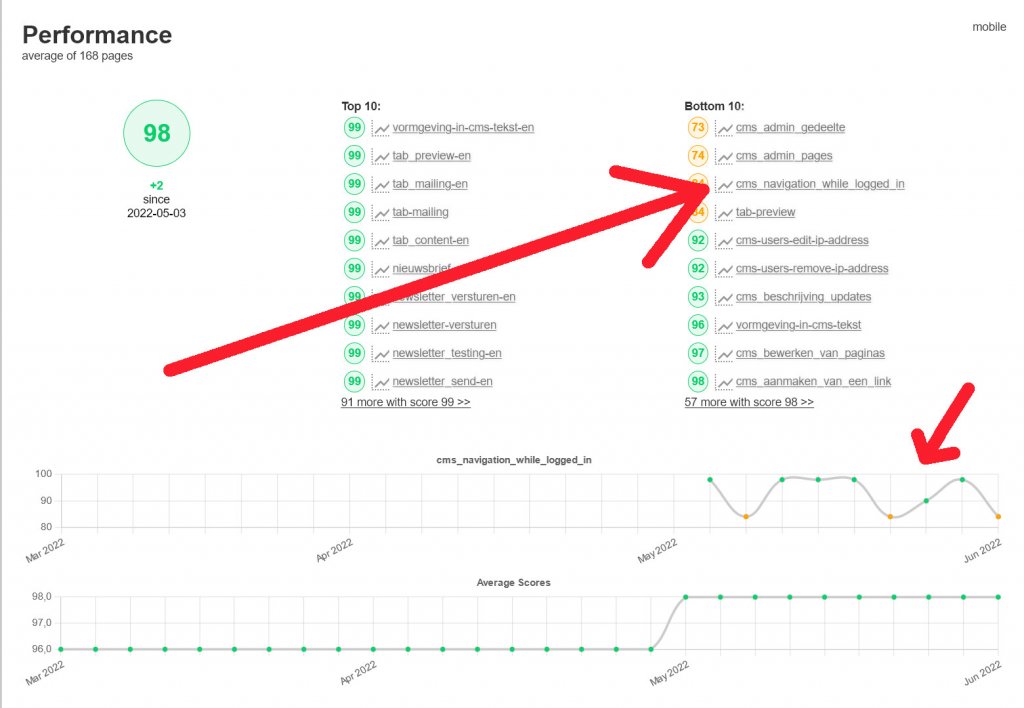
A graph is displayed at the bottom of the plane. This graph visualizes the development of the average score in the past period. When you click on the chart icon next to a top 10 or bottom 10 page, a second graph is displayed. This additional graph visualizes the development of the individual page in question.
Notifications
This admin section offers the possibility to receive an e-mail message when the average score of pages drop below a self-determined minimum. The email address used for this is the address associated with your login account. Email addresses are managed at the Users page in the Admin section. If no address is filled out, the notifications will not be sent out to you.
This notification is personal. Each user can set up their own notifications. When a minum is set to 0, no notification will be sent.
After modifying the settings, don't forget to click 'Save'.
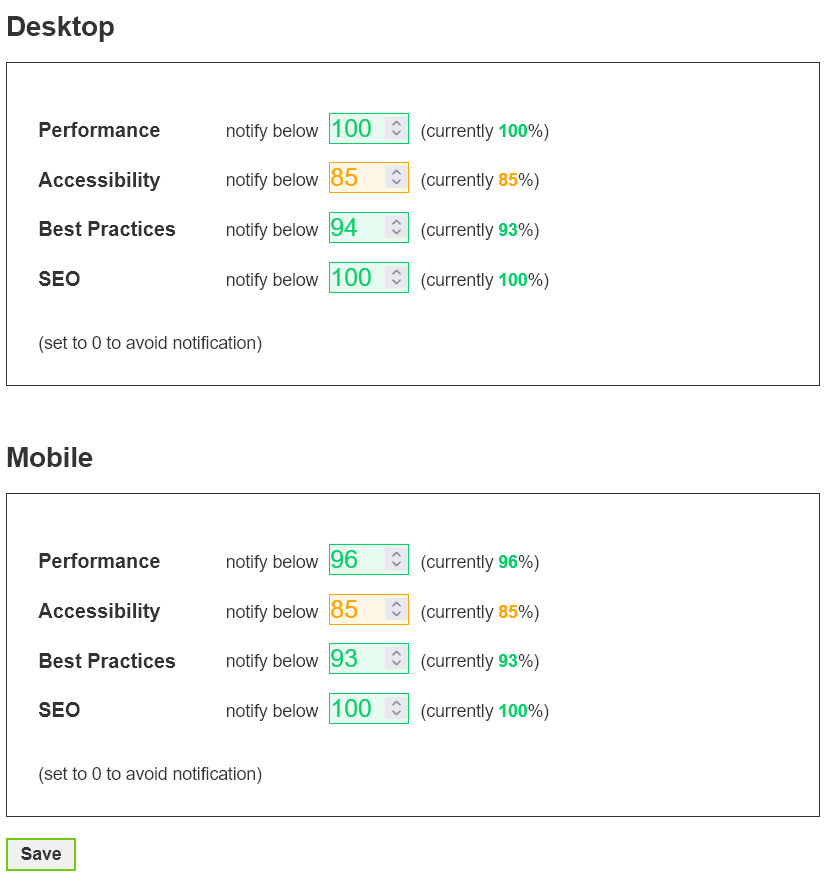
You will receive a notification once a week at the most.
Users
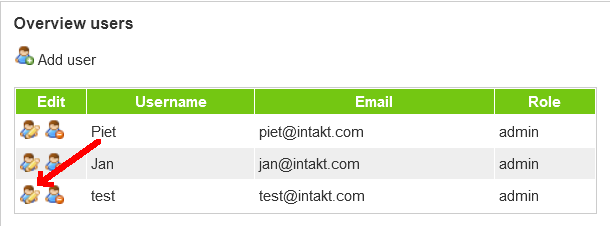
This page lists users of the CMS.
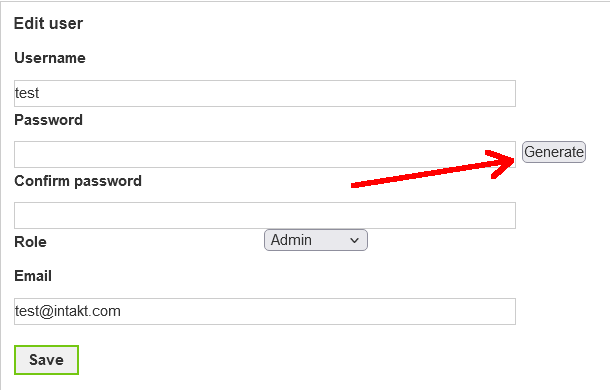
Edit users
Click at the "Edit" icon at the left side of a username.
Username: the name of the user
Password: The password this user needs to log into the CMS. Click "Generate" to use a random password. (save the generated password on a secure location) A custom password could be used too. This password has to be confirmed in the input field underneath the first one.
Role: The role of a user will determine the acces rights of a user in this CMS. For example, an admin user is able to add other users. An editor or webmaster user is not.
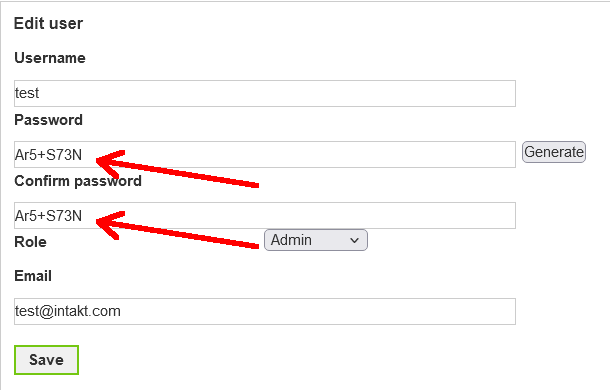
Password reset
It is advisable to regularly change your password. If your password may have been leaked, it is wise to do a reset immediately.
You can change the password via the admin section Users. To do this, click on the "edit icon" next to the user.
You can create a password yourself, or have a secure password generated through the "Generate" button.
The new password must be equal in both fields. If you then save the user by clicking on "Save" the new password is reset.
IP filter
The ip filter provides optional extra security for the backend of the CMS. The filter uses a list of ip addresses to check if a user is allowed to log in. This list is a so-called whitelist. If the user's IP address is not listed, it is not possible to log in.
Although there is no limit for the amount of IP addresses in this whitelist, this option is especially suitable for people who usually log in from known locations. For example, from the office or from home.
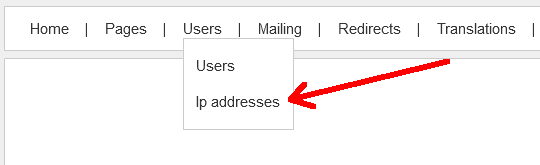
If the Admin menu has a "dropdown menu" for Users that includes an item "Ip adresses", then your installation of the CMS probably uses the IP filter. If this is not the case, and you would like this use this filter, please contact Intakt.
Determine the IP address
If your IP address is not authorized, you will see a page like this when you try to log in:
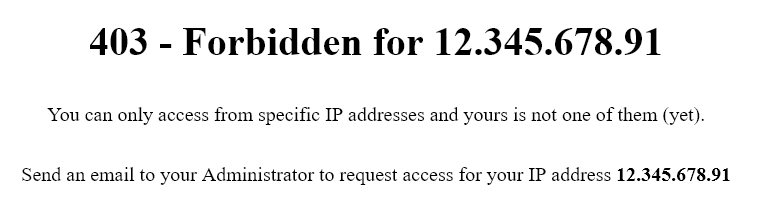
This notification is also available via this link: docs.intakt.com/403.php
The address listed here is the IP address to be added to the filter to gain access to the CMS.
You can also request your IP address via intakt.com/ip-address Both your ipv4 and your ipv6 address are listed here (if your internet service provider gave just one address to you, the missing address says "not detected")
If you have two IP addresses at your disposal (an ipv4 and an ipv6), it may be convenient to authorize both of them / add both of them to the whitelist.
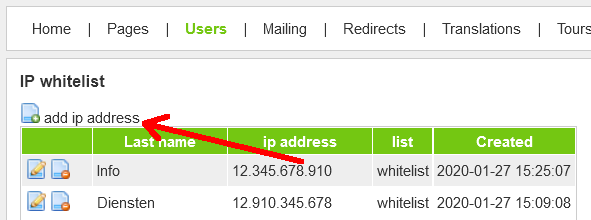
Add an IP address
Click on "add ip address" to add an address to the list of allowed IP addresses.
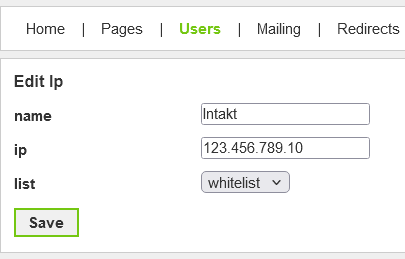
Under "name", fill out a self-chosen name that is recognizable to you and your organization.
Under "ip" you enter the ip address, or a part of your ip address.
Please note:
For an ipv6 address, enter the first four groups of the address. An ipv6 address is using a colon as group separator (:). There may be both numbers and letters in the address.
For example: xxxx:xxxx:xx
An ipv4 address consists only of digits separated by a period (.). To add an ipv4 address you enter the entire address, or just the first two or three groups.
For example, 12.345
Edit IP address
If the IP address you receive from your Internet Service Provider has changed, your access to the admin section will be blocked. This might occur when a "dynamic" IP address was assigned. In that case, you could ask a fellow user with access to adjust the address in the list of the IP filter for you.
To do this, click the "edit" icon.

Then change the IP address and click "Save".
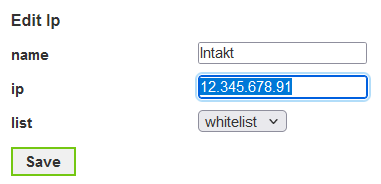
Now is should be possible to login from the specified IP address.
Remove IP address
It may happen that an IP address that was added to the list needs to be removed. For example, when an employee leaves the team.
Deleting an IP address is done by clicking on the "delete" icon.

Just to be sure, confirmation is asked
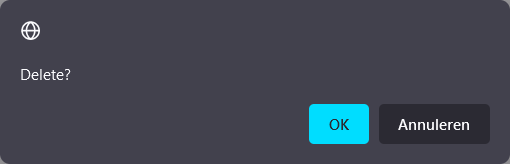
If "OK" is clicked, the IP address will disappear from the list. It is no longer possible to log into the CMS from that location.
Translations
If your website is multilingual, the "Translations" page in the Admin section will enable you to manage the translations for the different languages.
![]()
On the left side you will see labels that are linked to elements on the website. "back" for example, could be text for a button. The visitor of the website will see the text that correponds with the column of the language the website is presented in. (English / Dutch / French etc.)
Translate text
When the website is just finished, or when new features are added, some "labels" might not yet be translated. The example below shows that label "agreeToTermsAndConditions" needs to be translated in Dutch.
![]()
Text that has no transtation will be presented in the default language. In may cases English is chosen as default. The Dutch version of this website will show "I agree to the terms and conditions" until the Dutch translation is added.
Once the translations are filled out and the button "Store Translations" at the bottom of the page was clicked, the website will present the translations to its visitors.
![]()
Translate from web pages
It might be a challenge to find the right 'label' in the translations table. Sometimes translations can be done from the web pages themselves.
In those cases a 'tooltip' will show up when hovering the text:
![]()
![]()
This example shows that "No results.." was loaded from the translations table. The tootlip tells us that the translation-label is "noResults".
Clicking on "edit" will result in a popup with the translations table. This time only one label is visible.
![]()
After translating, the button "Store Translations" wil save the new data.
Clicking "Close" will close the popup without saving.
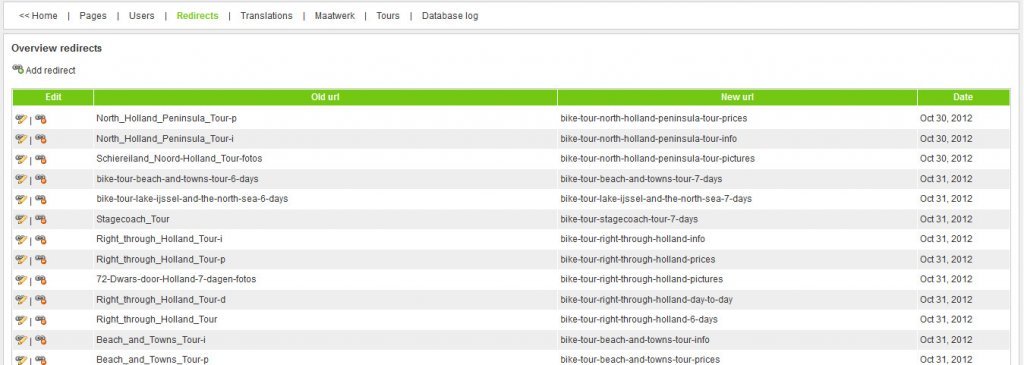
Redirects
This section lists redirects from one url to another. On the left we see urls that are no longer in use, on the right urls to where visitors will be redirected when they try to visit the old address anyway.
There are two ways these redirects are added to the list: automatically and manually. The purpose of both types are the generally SEO (Search Engine Optimization).
Automatically created redirects
You might want to change the address or url of a page (see chapter "metadata"). You may want to assign an url that is easily remembered or suites the content of the page better. In such cases, saved bookmarks and results of search engines will point to "broken" pages. (404)
To prevent "broken links", the application will create a "301 redirect" each time an url is changed. The old url will automatically redirect the visitor to the new url. Your visitors will barely notice the redirects, and search engines will update their result automatically.
Manually create redirects
Redirects can be created manually.
Urls of deleted pages could be redirected to the home page to make sure bookmarks and search results are pointing to a working page.
During a redesign or a structural change of your website, content could be moved from one page to another. In such cases, it could be wise to redirect the old url to this other page by creating a redirect manually.
To do this, click on "Add redirect".

Input fields will be presented:

Fill out these fields with "relative" addresses. For example:
Old url: "old_url.html"
New url: "new_url.html"
After saving the form, visitors of "http://www.yourdomain.com/old_url.html" will be redirected to "http://www.yourdomain.com/new_url.html".